
A photo book is the rare gift that gets better with age — and the rare project people abandon halfway because a camera roll of 3,000 photos is paralysing. The difference between a book that looks professionally made and one that looks like a cluttered scrapbook isn't the software; it's a handful of decisions you make before and during the build. Here's a practical guide to getting it right, using a maker like Photobook America. Links below use our affiliate tracking and open Photobook America.
Start by culling, hard
The single biggest upgrade to any photo book happens before you open the editor: pick fewer, better photos. A tight edit of 40 to 60 strong images tells a story; 150 near-duplicates drowns it. Go through your shots and keep only the ones that are sharp, well-lit, and actually add something — the best version of each moment, not every version. If you have ten photos of the same sunset, the book needs one. This ruthlessness is what separates a professional-feeling book from a dumping ground.
Use your best files, not screenshots
Print is honest in a way screens aren't. An image that looks crisp on your phone can print soft if it's low-resolution, heavily cropped, or a compressed copy. Always build from your original, full-size files, and if the editor flags a photo as low resolution, believe it — either swap in a better version or use that image smaller on the page. Getting this right is invisible when it works and glaringly obvious when it doesn't.
Let the pages breathe
Amateur books cram four photos onto every page; professional ones use space. Give your strongest images a full page or even a full spread to themselves, and resist filling every gap. White space isn't wasted space — it's what makes the photos feel important and the book feel designed. A good rhythm alternates busy pages with calm ones, and lets the hero shots stand alone.
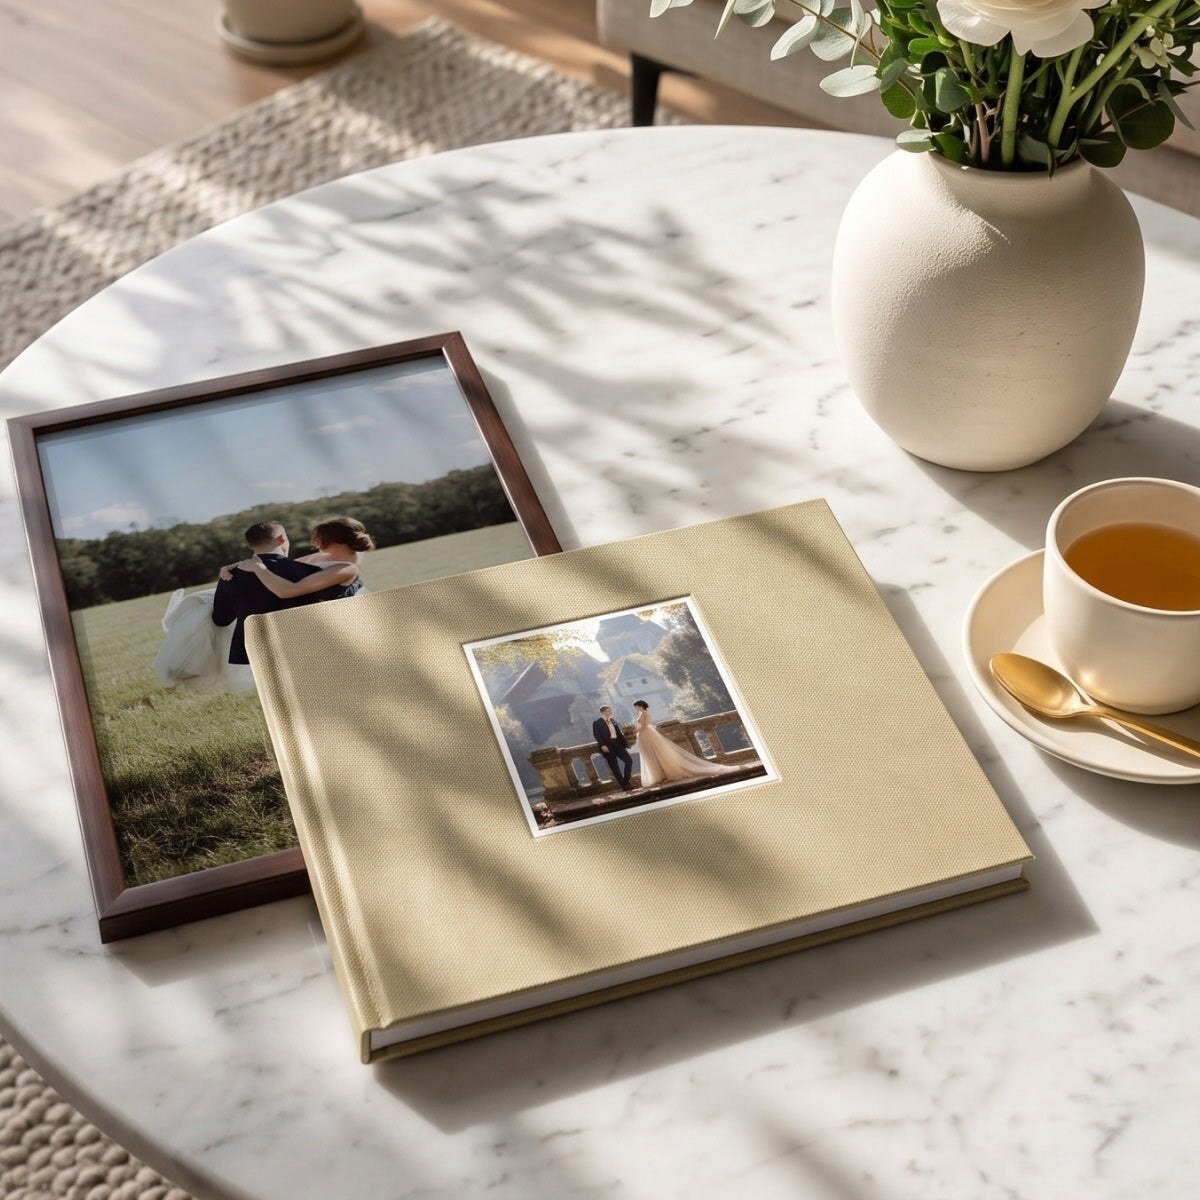
Spend extra care on the cover, because it is the first and most-seen page. Choose a single strong image that represents the whole book rather than a busy collage, keep the title short and legible, and leave the photo room to breathe behind any text. On a shelf or a coffee table the cover is what invites someone to open the book, so a clean, confident cover does more work than any interior spread. If you are unsure, a full-bleed hero image with a small, well-placed title almost always looks more professional than a crowded layout.
Build a narrative, not a pile
The best books have an order that means something. For a trip, go chronological — departure to return. For a wedding, follow the day. For a baby's year, move month by month. A loose story arc gives the reader a reason to turn the page and turns a collection of images into something that reads. Open with a strong establishing photo and close on a note that feels like an ending.
Add words while you remember them
Captions are what make a book worth reopening in ten years. You don't need paragraphs — a place, a date, a name, a one-line memory. The temptation is to skip them to save time, but the un-captioned book is the one nobody can fully decode later. Add them as you build, while the details are fresh, rather than promising to "do it afterwards."
One more thing that separates professional-looking books from amateur ones: consistency. Pick a layout rhythm, a caption style, and one or two fonts, and hold to them through the whole book rather than switching design every few pages. The same photo treatment and the same caption placement page after page is what makes a book feel designed rather than assembled. Variety belongs in the photos themselves, not in the layout around them; a steady, consistent frame lets the images be the thing that changes.
A quick pre-order checklist
| Step | Why |
|---|---|
| Cull to your 40-60 best | Fewer, stronger photos read as professional |
| Use full-resolution originals | Low-res prints soft; screens hide it |
| Give hero shots space | White space makes the book feel designed |
| Order the book as a story | A narrative gives a reason to turn pages |
| Caption as you go | Words are what make it worth revisiting |
| Apply a current deal | Promotions cycle often — don't pay full list |
Choose the right format for the job
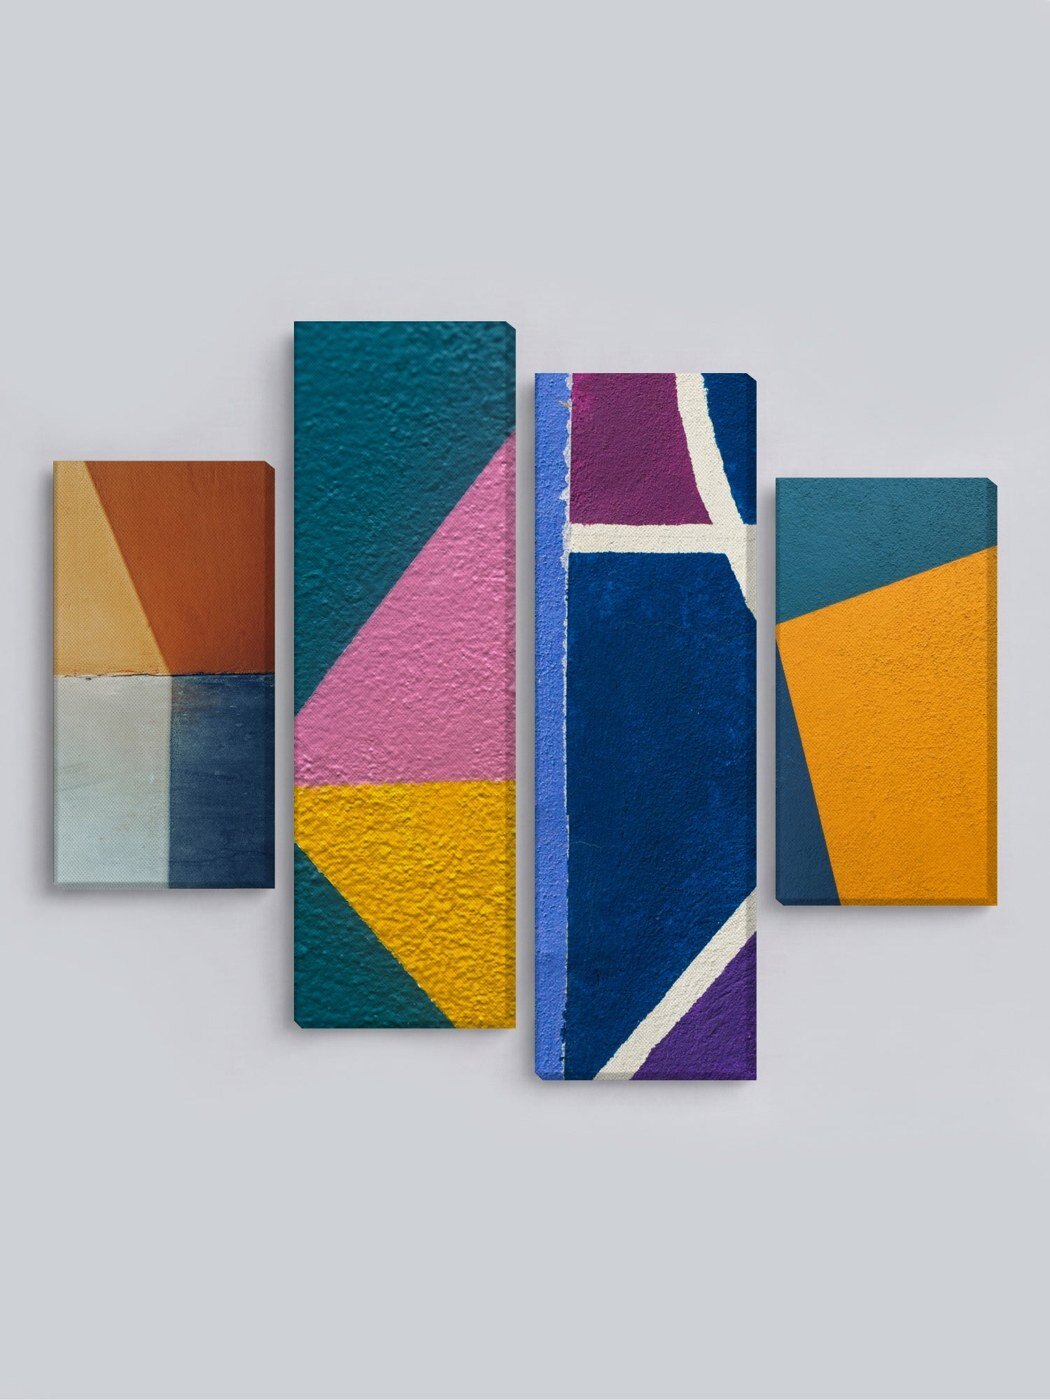
Match the product to the occasion. A hardcover layflat book suits a wedding or a milestone where panoramic spreads matter and you want it to feel like a keepsake. A softcover is a sensible, lower-cost choice for a casual trip recap you'll make several of. And remember the same photos can become a calendar, canvas, or gift — so if you're already doing the edit, consider what else is worth printing while your best shots are gathered in one place.
Preview carefully before you print
The last step is the one people rush, and it's where mistakes get locked in. Before ordering, go through the full preview page by page as if you were the recipient: check that no faces are cropped at the spine, that captions are spelled right and attached to the correct photo, that nothing important sits in the gutter where two pages meet, and that any low-resolution flags have been resolved. Print is permanent in a way a screen edit isn't — once it's bound, a typo or a cropped head is there for good. Five minutes of careful previewing is the cheapest insurance in the whole project, and it's the difference between a book you're proud to hand over and one with a small annoyance you notice every time.
FAQ
How many photos should a photo book have? For most books, 40 to 60 strong images across the pages. A tight edit reads far better than cramming every shot you took.
Why do my photos look blurry in print? Usually low resolution — a screenshot, a heavy crop, or a compressed copy. Build from full-size originals and heed any low-resolution warnings.
Should I write captions? Yes — a place, date, or one-line memory per key photo. Captions are what make the book worth revisiting years later.
How do I get the best price? Shop a current discount code or prepaid deal; photo-book promotions refresh frequently, so full list price is usually an overpay.
Ready to build one properly? Start your project and check the current deals at Photobook America.
Disclosure: This post contains affiliate links. We may earn a commission from purchases made through these links at no extra cost to you. Products, promotions, and pricing were accurate at the time of writing.
Affiliate link — we may earn a commission at no extra cost to you.
Want gear like this on your content calendar?
Join AffluencerHub, get AI-matched to brand programs that fit your audience, and track every click to commission in one place.
Apply as a Creator