
You saw a laser-engraved keychain on Etsy and thought "I could do that." Good news: you can. The first machine costs less than a decent laptop, and the learning curve is shorter than it looks.
Here is the walkthrough I wish someone had handed me when I started — eight steps from "what do I even buy" to a finished piece you could put in front of a customer.
Eight steps, about a weekend
01Decide what you actually want to engrave
This is the question that saves you from buyer's remorse. Wood coasters and leather wallets? A 10W diode is plenty. Stainless tumblers and brass tags? You need a fiber or infrared machine. Cutting through 15 mm plywood? Now you are shopping 20W-plus diodes or CO₂.
Write down the top three materials you plan to touch. Everything else in this article follows from that list.
02Pick your first machine
For a beginner in 2026, three price tiers matter.
Under $300
Entry diode machines like the A5 Pro at 5W, upgradable. Fine for wood, leather, slate and dark acrylic. Slow at cutting. Best if you are not yet sure the hobby will stick.
$400–700 — the sweet spot
A 10W diode like the A10 Pro V2 or A12 Pro engraves fast, cuts thin plywood in two or three passes, and grows with you. This is where most beginners should land.
$800–1,500
Bigger frames, higher power. The A40 Pro V2 sits around $689 during promotional windows. If you already know you want to sell products, skip the entry tier and land here.
03Set up your workspace
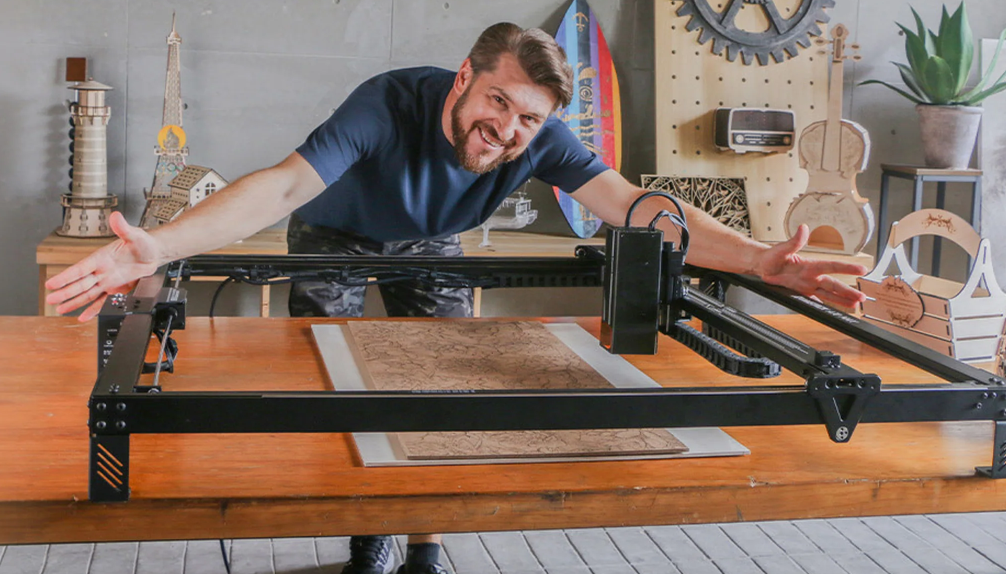
Laser engravers are not printers. They vent smoke, throw light and get hot. Before you unbox, prep the room.
- A flat table you do not care about. Small burn marks happen.
- Cross-ventilation. Open a window with a fan blowing outward, or run the exhaust hose out through a window.
- Laser safety glasses rated for your wavelength — 455 nm for diode blue lasers, 1064 nm for fiber. These are $15 to $40 and non-negotiable.
- A smoke alarm within earshot. Not because you expect a fire, but because you might make one.
- Nothing flammable within a metre of the bed.
If you have kids or pets in the house, keep the machine in a room with a lockable door.
04Install the software first
Two options cover 90 percent of beginners, and you should install before you unbox.
LaserGRBL is free, Windows-only and lightweight. It works fine for most jobs. Connect over USB and go.
LightBurn costs around $60 as a one-time licence. It is the professional standard, and once you outgrow LaserGRBL you will end up here anyway. It handles vector files, camera alignment, rotary attachments and photo dithering better than anything else at the price. AtomStack bundles free LightBurn licences with several machines including the X70 and A24, which sweetens the maths.
Installing first means fewer variables during setup. Do it while the box is still sealed.
05Assemble the machine
Most AtomStack diode machines ship about 85 percent pre-assembled and take 20 to 45 minutes to finish. Follow the paper manual, not the YouTube video you found — manuals get updated more often than videos.
| Gotcha | Symptom if you miss it | Fix |
|---|---|---|
| Belt tension | Wobbly lines, or straining motors | Check after assembly, before first burn |
| Frame level | Uneven burn depth across a large workpiece | Spirit level — even a 1 mm slope shows |
| Air assist hose | Shortened diode life, sooty lens | Plug it in before you power on |
All three of these are five-minute checks that cost hours if skipped. Belt tension in particular is the one people diagnose as "a bad machine" three weeks later.
06Your first focus test
Focus is the single biggest factor in engraving quality. Get this right and everything else falls into place.
Most beginner machines include a small plastic focus block. Place the block under the laser head, loosen the Z-axis knob, lower the head until it touches the block, tighten the knob. That is your focused position for that material thickness.
Machines with autofocus — the A70 Pro, X70 and A40 Pro V2 among them — skip this step entirely. Press the button, wait about eight seconds, done.
07Your first test burn is a grid, not a project
Do not start with a customer order. Do not even start with a "real" project. Run a material test grid.
In LightBurn or LaserGRBL, create a 10×10 grid of squares. Each column varies speed, from 1,000 to 10,000 mm/min. Each row varies power, from 10 to 100 percent. Send that grid to a piece of scrap wood of the same species as your intended material.
You now have a settings cheat sheet. Save it. Every new material gets its own grid. In a month you will have a folder of them and you will stop guessing permanently.
08Ship your first real project
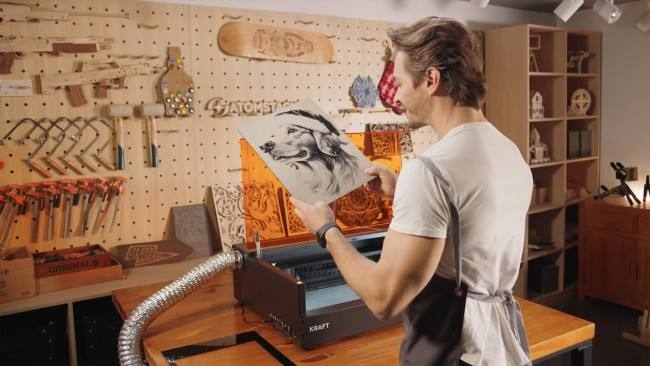
Pick something small. A coaster. A bookmark. A leather luggage tag. Do the design in Inkscape (free) or Illustrator, export as SVG, drop it into your laser software.
Run at the settings your test grid suggested. Watch the first burn from start to finish. Do not walk away. Ever. Fires are rare but they are real, and every experienced user has a story about one that started while they were checking their phone.
Beginner machine comparison
| Model | Power | Work area | Best for | Price (USD) |
|---|---|---|---|---|
| AtomStack A5 Pro | 5W | 410×400 mm | Absolute beginners | $200–300 |
| AtomStack A10 Pro V2 | 10W | 410×380 mm | Most beginners | $220–400 |
| AtomStack A20 Pro V2 | 20W | 400×400 mm | Serious hobbyists | $369–650 |
| AtomStack A40 Pro V2 | 40W | Large format | Small business start | $689–1,429 |
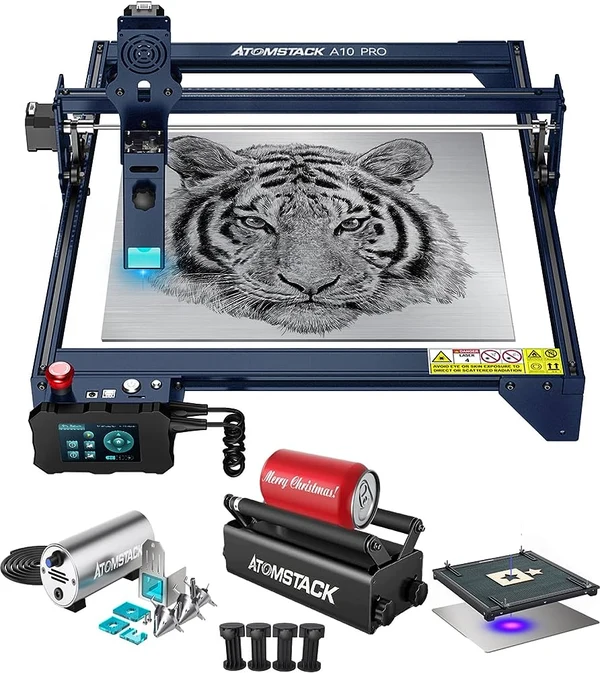
AtomStack A10 Pro V2 — where most beginners should land
10W optical output, 410×380 mm bed, engraves fast and cuts thin plywood in two or three passes. Step down to the A5 Pro if you are testing the water, up to the A40 Pro V2 if you already plan to sell.
🔦 Prices on this range swing hard — Prime Day and Black Friday routinely bring the year's steepest discounts, and promo pricing on the mid-tier diodes can differ by several hundred dollars from list. Affiliate link — we may earn a commission at no extra cost to you.
What to skip buying at first
- Rotary attachments. You will use one eventually, but not in month one.
- Honeycomb beds. Useful, but a simple piece of aluminium with pins works for the first twenty projects.
- Fancy air assist compressors. The stock kit is enough to learn on.
- Ten different materials from Amazon. Pick two. Master them. Then expand.
Frequently asked questions
How long until I can make money from this? Realistically 30 to 60 days if you practise consistently and pick a niche. Etsy tumblers, pet tags and personalised cutting boards move fastest.
Is laser engraving dangerous? The laser is dangerous to your eyes if you look at it directly — that is why glasses matter. Fire is a real risk on paper, cardboard and thin wood. Never leave the machine unattended.
What is the biggest mistake beginners make? Buying too much machine too fast. Start with a 10W diode, learn the fundamentals, and upgrade when your projects outgrow the machine — not before.
Do I need a business licence to sell what I engrave? It depends on your state or country. In the US, most home crafters can sell casually up to a threshold before registration is required. Check your local rules rather than a forum post.
Can I engrave photos on wood? Yes, but it takes practice. Photo engraving uses dithering to convert shades into dot patterns, and LightBurn handles it well. Expect a lot of test runs before your first good portrait.
Buy the 10W, run the grid, watch the first burn. Everything anyone learns in their first month comes out of those three habits.
Want gear like this on your content calendar?
Join AffluencerHub, get AI-matched to brand programs that fit your audience, and track every click to commission in one place.
Apply as a Creator