
Traditional robotic lawn mowers came with one big catch: laying a boundary wire around every edge of your lawn — a full day of trenching, a spool of buried cable, and the ongoing worry that a rake or aerator would slice through it. Segway Navimow's H series and i series throw all of that out, using RTK-assisted satellite positioning plus an app to define virtual boundaries. Per hands-on reviewers at Trivando and Robotjakt.se, the entire setup takes 1 to 2 hours without tools — no digging, no cable, no specialist knowledge.
Ready to skip the boundary wire and let a robot handle the lawn? Explore the current Navimow lineup.
Before you start: what you'll need
- Your Navimow robot and the base station/dock it shipped with
- The RTK antenna and its mounting pole
- A stable outdoor spot for the antenna with clear sky view — this is non-negotiable
- Power near the dock location (an outdoor outlet or an extension into a garage)
- 2.4 GHz Wi-Fi coverage in your mowing area (per Trivando's H500E hands-on, this materially affects app stability)
- The Navimow app installed on your phone (iOS or Android)
- A charged phone and roughly 90 minutes for a first-time install
01Pick your antenna spot
This is the single most important decision in the whole setup, and it's worth walking your yard before you unbox anything. The RTK antenna needs to see the sky. Robotjakt.se's H500E reviewer flagged that yards with dense trees or high surrounding buildings should have their GPS coverage checked before purchase. The antenna doesn't need to be in the middle of the lawn — it just needs open sky above it. Look for:
- Open sky with minimal overhanging canopy
- A stable mounting surface (a post, a wall, or the included pole in the ground)
- Reasonable proximity to the dock so the base station can wire to it
- A location that won't be regularly disturbed (kids, pets, garden tools)
02Install the dock
The dock is where your mower charges between cycles. Position it:
- On level ground with about a metre of clearance on all sides
- Near a weather-protected power source
- Within the mowing area so the robot can drive to and from it without crossing hard obstacles
- Away from full-sun spots that could bake the electronics in summer
Bolt or stake the dock into position per the included instructions, then connect the antenna cable and the power cable.
03Power on and pair the robot
Turn on the mower and open the Navimow app. Follow the pairing flow to:
- Connect the mower to your home Wi-Fi (2.4 GHz specifically — Trivando's review notes this)
- Confirm the antenna is receiving satellite signal (the app shows signal strength)
- Update firmware if the app prompts you (OTA updates are supported across all H- and i-series models per navimow.com specs)
If the antenna signal is weak, this is your last chance to reposition before the perimeter walk. Move it now if the app is flagging poor GNSS reception.
04Walk the perimeter
With the app open, you'll walk the mower around your lawn's boundary to define the mowing area. Reviewers describe this as the "training walk":
- Start at the dock
- Push or drive (depending on model) the mower along the edge of your lawn
- Keep the mower just inside where you want the cut edge to fall
- Complete a full loop back to the dock
- Save the perimeter in the app
Some newer Navimow releases (per the CES 2026 announcement) use AI-assisted mapping where the mower detects the grass edge itself. For the H500E, H800E and existing i-series models, the manual walk-around remains the standard flow.
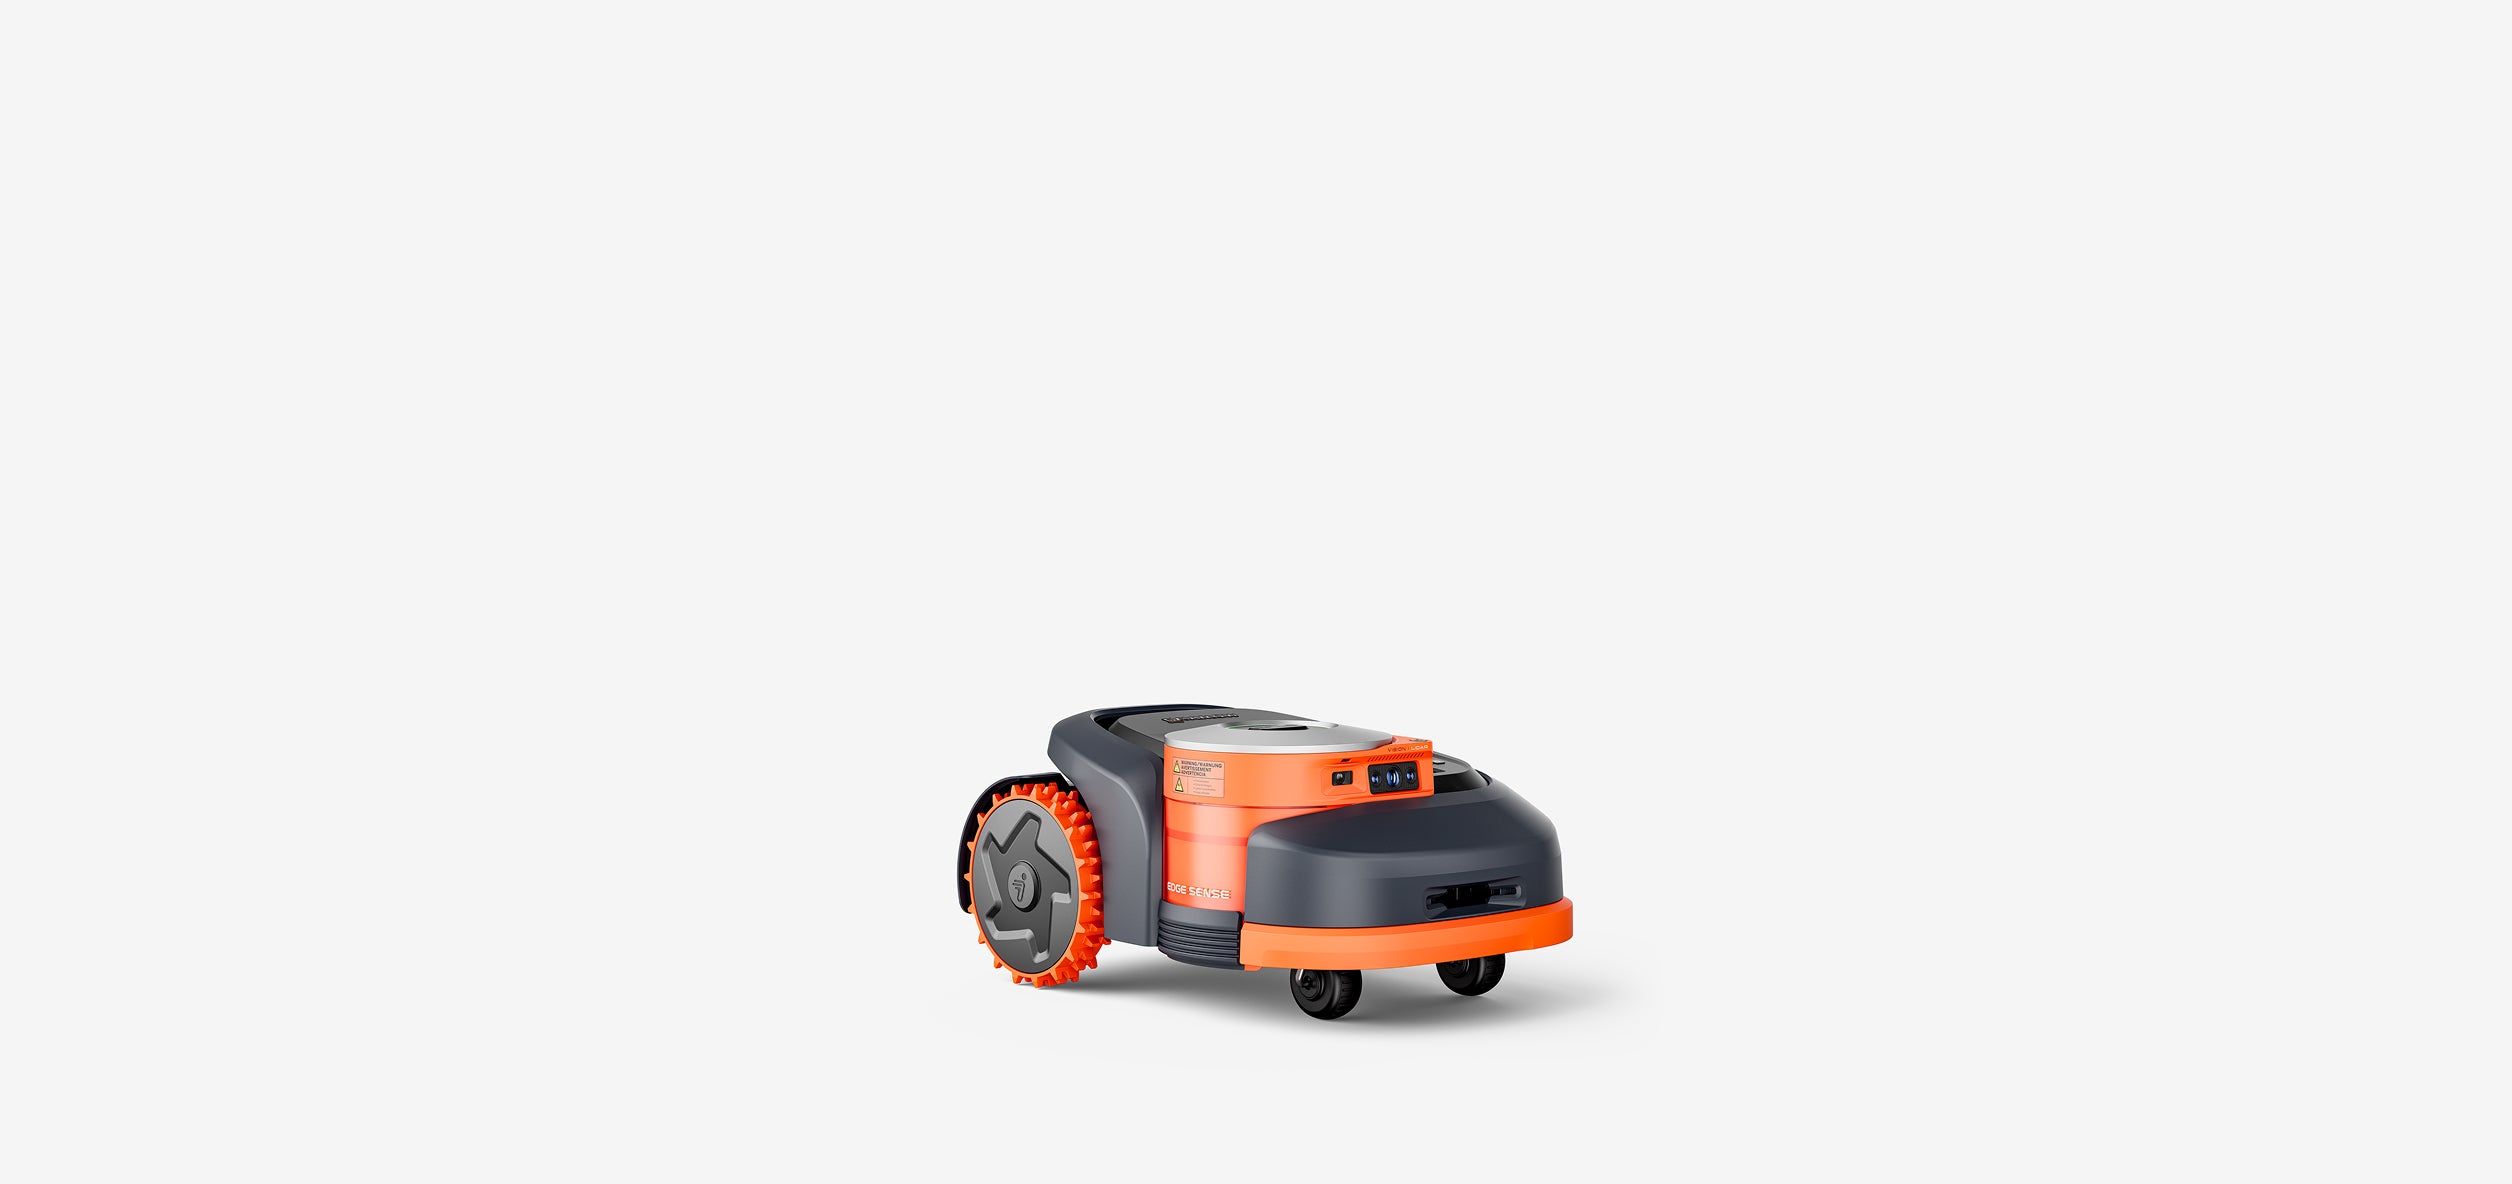
05Add no-go zones
Inside your saved perimeter, drop no-go zones for anything the mower shouldn't touch:
- Flower beds and vegetable gardens
- Ponds, fountains and pools
- Kids' play-equipment areas
- Fragile hardscape (stone edging, garden ornaments)
- Any zones with obstacles under 1 metre of clearance (narrow passages)
You can edit these anytime later in the app — no need to get every polygon perfect on day one.
06Schedule your first mow
With the map saved, set your first mowing schedule. Recommended defaults for a new lawn:
- Frequency: 3–4 sessions per week for maintenance mowing
- Time of day: early morning or evening in summer; midday works for cooler months
- Cutting height: start at 40–50 mm and drop over subsequent sessions if you want it shorter
- Rain sensor: leave enabled — the H series' rain sensor returns the robot to dock during storms per Navimow's public specs
Then hit "Start" and let the robot get to work.
The only wiring is the short cable between the dock and the antenna, plus the power cable to the dock. There is no boundary wire to bury.
Recommended Navimow models by lawn size
| Model | Recommended area | Key feature |
|---|---|---|
| Navimow H500E-VF | 500 m² | Value wire-free pick |
| Navimow H800E-VF | 800 m² | Adds 4G remote & anti-theft |
| Navimow H1500-VF | 1500 m² | Bigger battery, 240 min runtime |
| Navimow H3000-VF | 3000 m² | Estate-size wire-free |
| Navimow i2 AWD (new) | 500–1000 m² | 45% slope, three-wheel drive (2026 launch) |
| Navimow i215 LiDAR (new) | up to 1500 m² | Solid-state LiDAR + GeoSketch mapping |
Sources: navimow.com/pages/navimow-h-specs, PRNewswire Navimow CES 2026 launch release, uknavimow.com H-series compare page.
Common setup mistakes to avoid
Antenna under a tree canopy
GPS drift will haunt every mow. Move it before you save the map. And re-check after leaves come in — a summer canopy that's fine in April can shade the antenna heavily by July.
Skipping the Wi-Fi check
2.4 GHz coverage in the outdoor working area affects app responsiveness. Test with your phone in the far corners of the lawn first.
Cutting too short on mow one
Start higher (40–50 mm) and let the lawn adjust over several sessions rather than scalping it on day one.
Under-mapping no-go zones
Add a buffer around delicate items — the robot will trace close to any edge you draw.
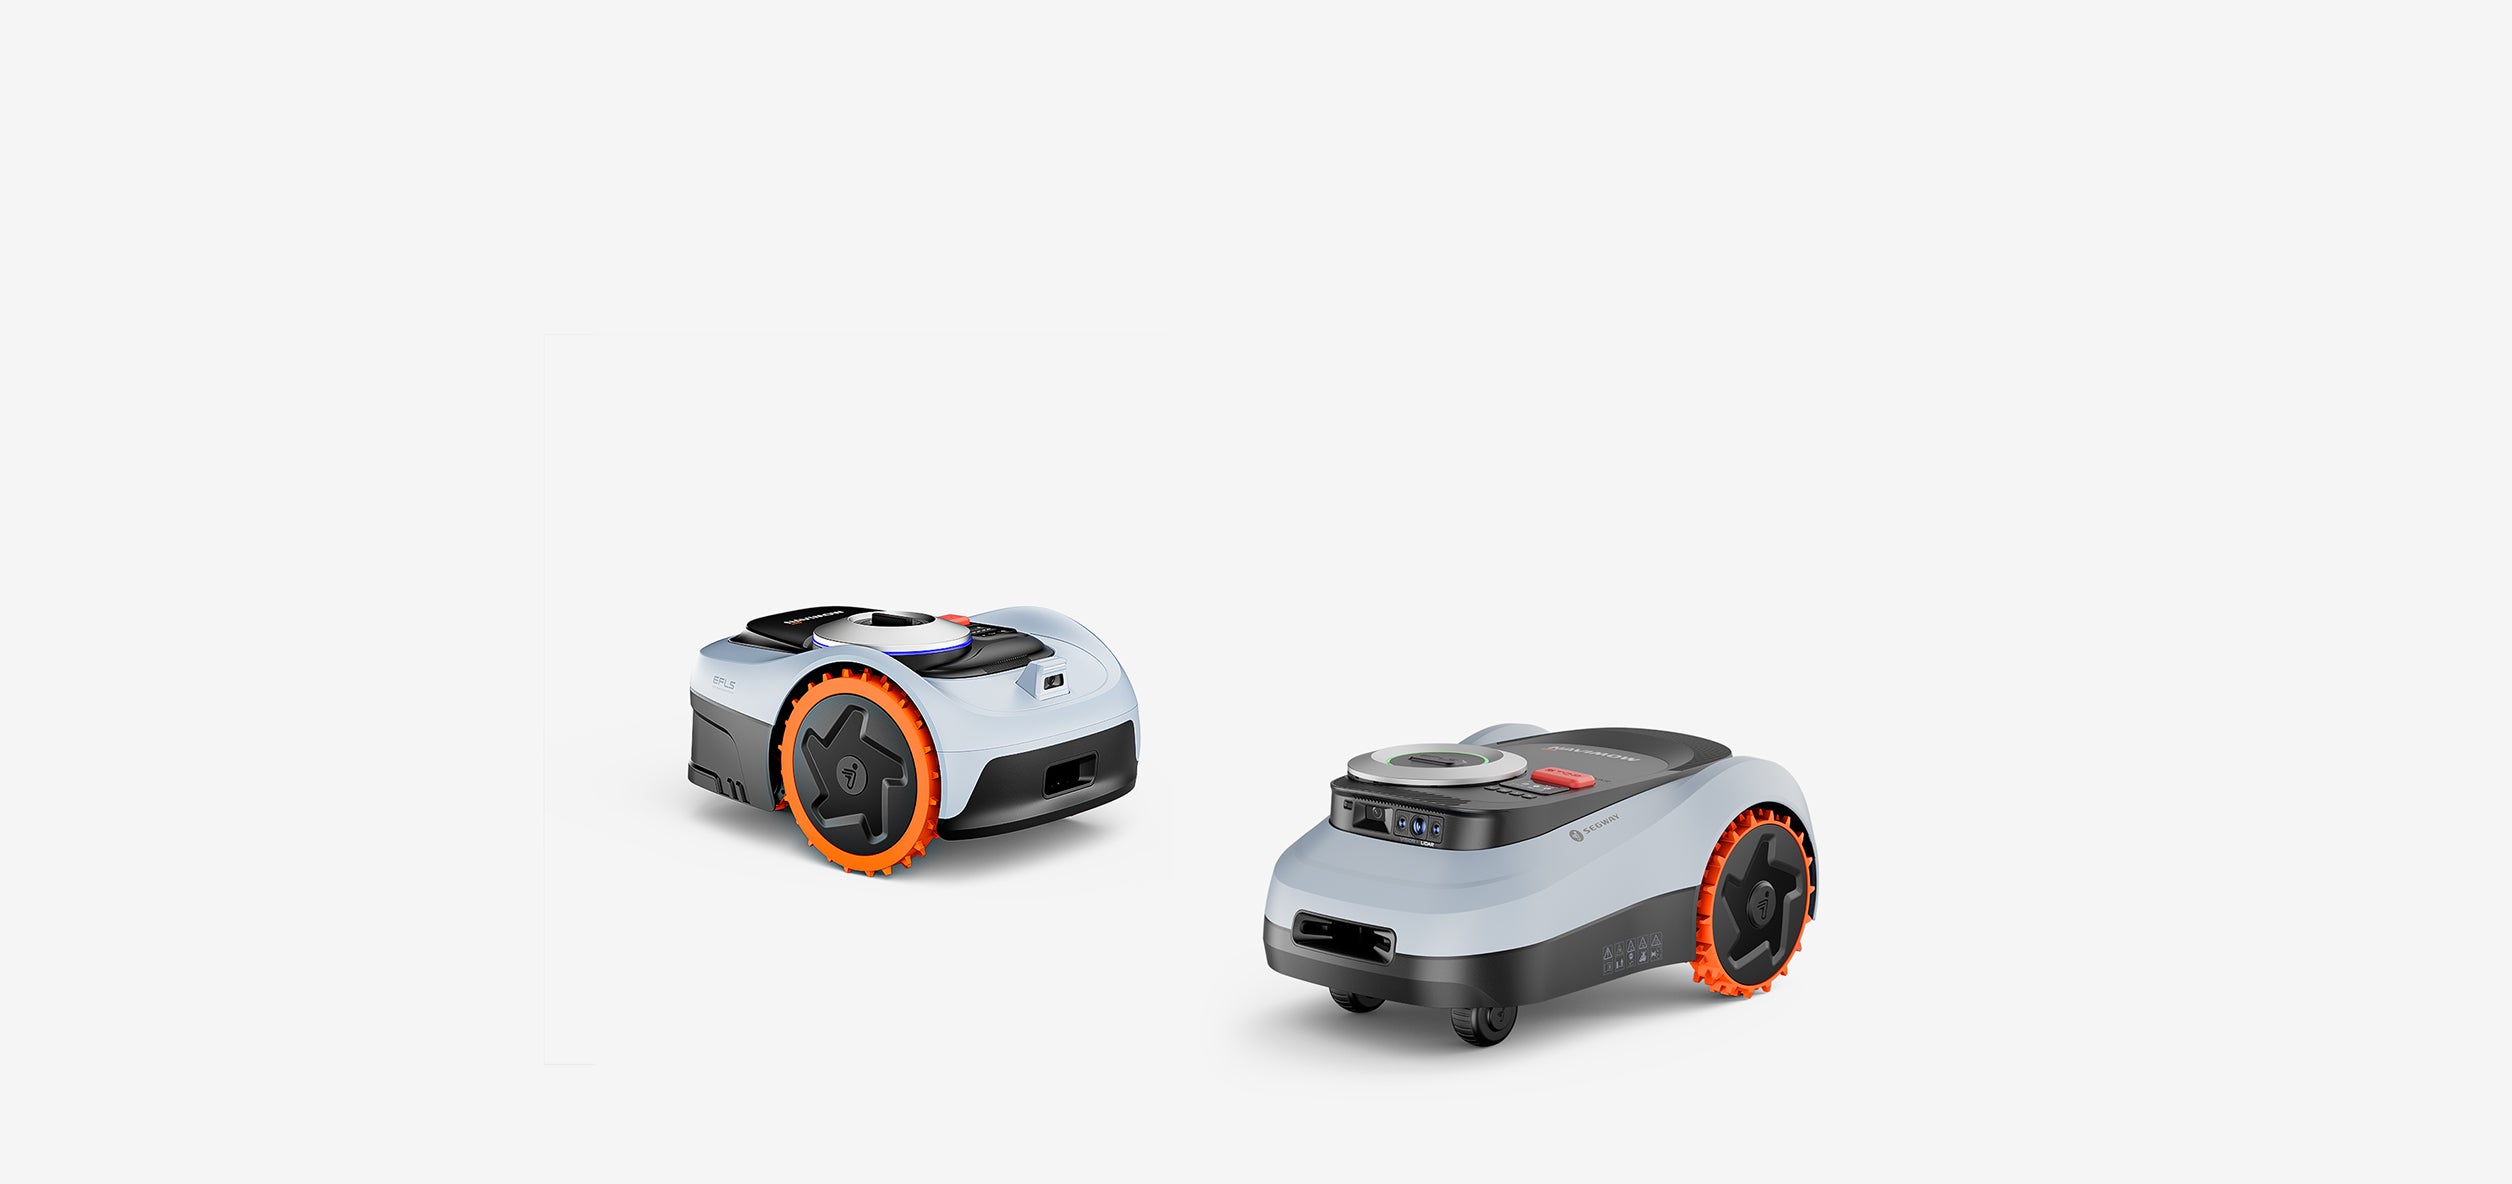
Navimow — pick the model for your lawn
Wire-free RTK setup in an afternoon, from the H500E for ~500 m² up to the H3000-VF and the new 2026 i2 AWD and i215 LiDAR. No boundary wire to bury.
Shop Navimow🔒 Wire-free RTK setup · 54 dB(A) · up to 45% slope · rain sensor · OTA updates. Affiliate link — we may earn a commission at no extra cost to you.
FAQ
How long does the full setup really take? Reviewers at Trivando and Robotjakt.se consistently report 1 to 2 hours end-to-end for the H500E, including antenna placement, dock install, app pairing and perimeter walk. First-timers may take closer to 2 hours; a second install is typically well under an hour.
Do I need to bury or hide any cables? No. The only wiring is the short cable between the dock and the antenna, plus the power cable to the dock. There is no boundary wire to bury.
What if my Wi-Fi doesn't reach the whole lawn? The mower itself doesn't need Wi-Fi to mow — it uses RTK satellite positioning. But app control relies on Wi-Fi for status and remote commands. On the H800E and higher, 4G handles this out of the box; on the H500E, consider a Wi-Fi mesh extension for the outdoor area.
Can I re-map the lawn later? Yes. Any boundary or no-go zone can be edited in the app at any time. Add a new flower bed in July? Just draw a new no-go zone around it.
What if my yard is too complex for RTK? Look at Navimow's newer i215 LiDAR or i2 LiDAR Pro models, announced at CES 2026. Per Segway Navimow's launch release, the LiDAR variants scan nearly 200,000 points per second and are designed for complex scenarios like narrow paths and dense obstacle areas.
How often does it need charging? The H500E and H800E deliver about 180 minutes of mowing per full charge (Navimow spec sheet). The mower returns to the dock automatically when the battery runs low and resumes after charging.
Bottom line
Setting up a wire-free Navimow is genuinely simple — pick a good antenna spot, install the dock, walk your perimeter in the app, and schedule your first mow. The whole install fits comfortably in an afternoon, and once it's done you're rid of one of the most annoying parts of owning a traditional robotic mower.
Want gear like this on your content calendar?
Join AffluencerHub, get AI-matched to brand programs that fit your audience, and track every click to commission in one place.
Apply as a Creator